Well I had sat here lookin at this box for 2 days and just couldn't wait any longer. So instead of waiting for Monday to get here and going over to my Army buddies house I started working on it today. I'll still go over to his house on Monday and check out all the work I did and make sure I didn't screw anything up.
So yesterday I installed the aux switch and had started on the wiring. So the first thing I did was finish that off. Adding the aux switch gives you wiring plus one plug.

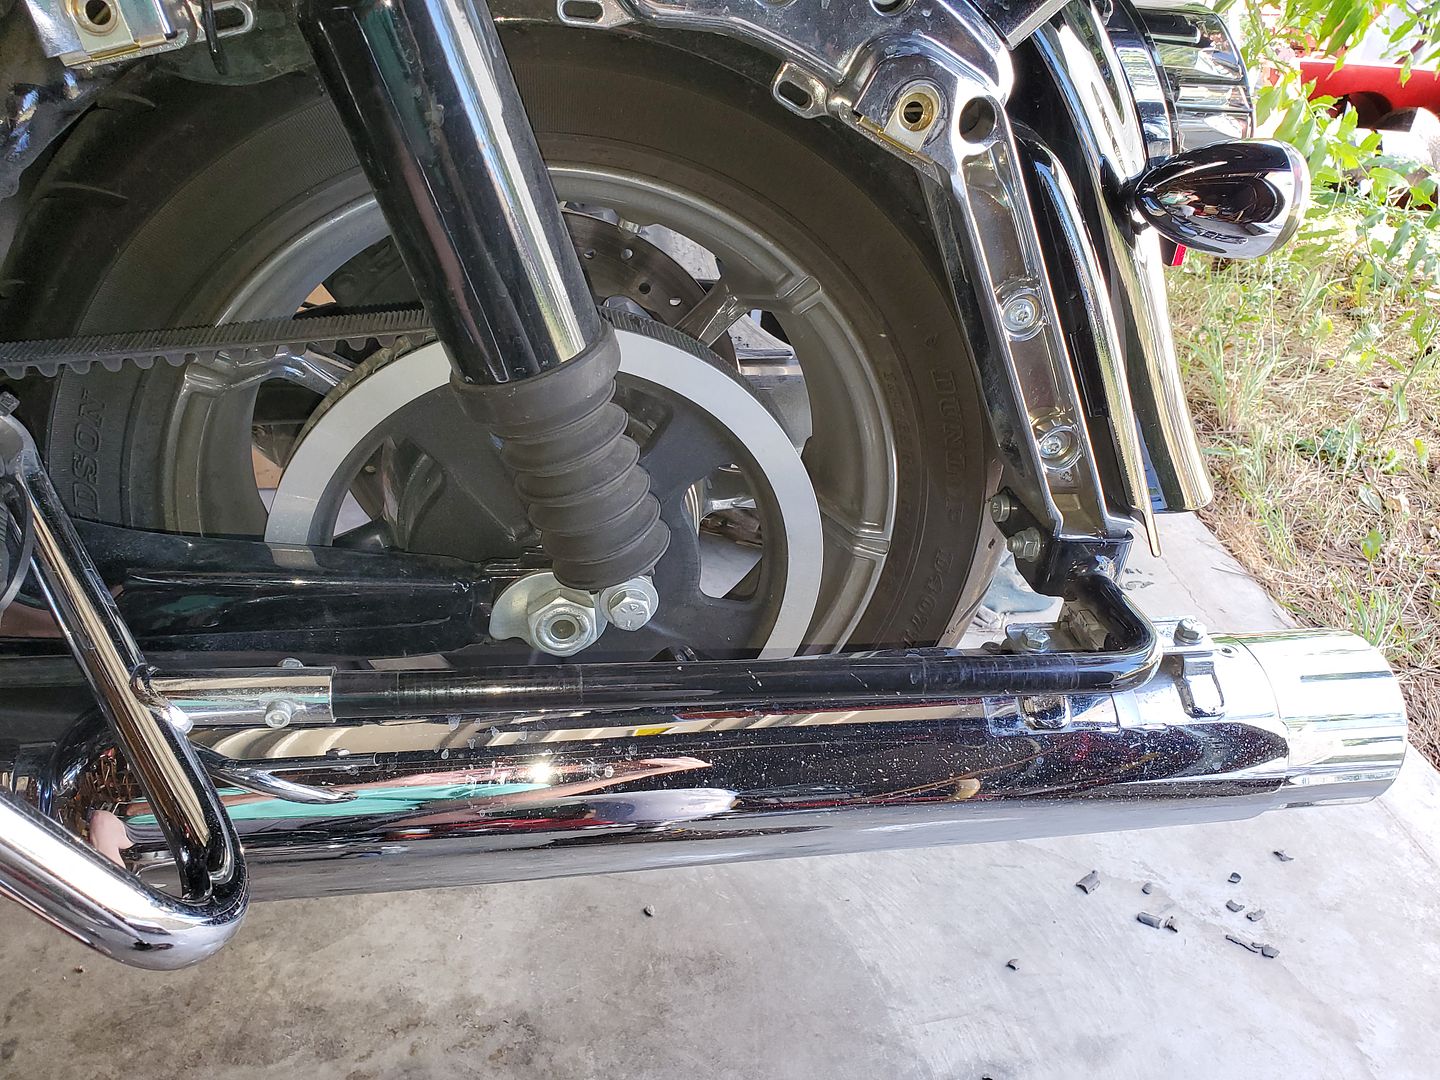
So then it was time to figure out how to lower the rear tire but not have it fall out. Well guess what? My floor jack worked real good for that.
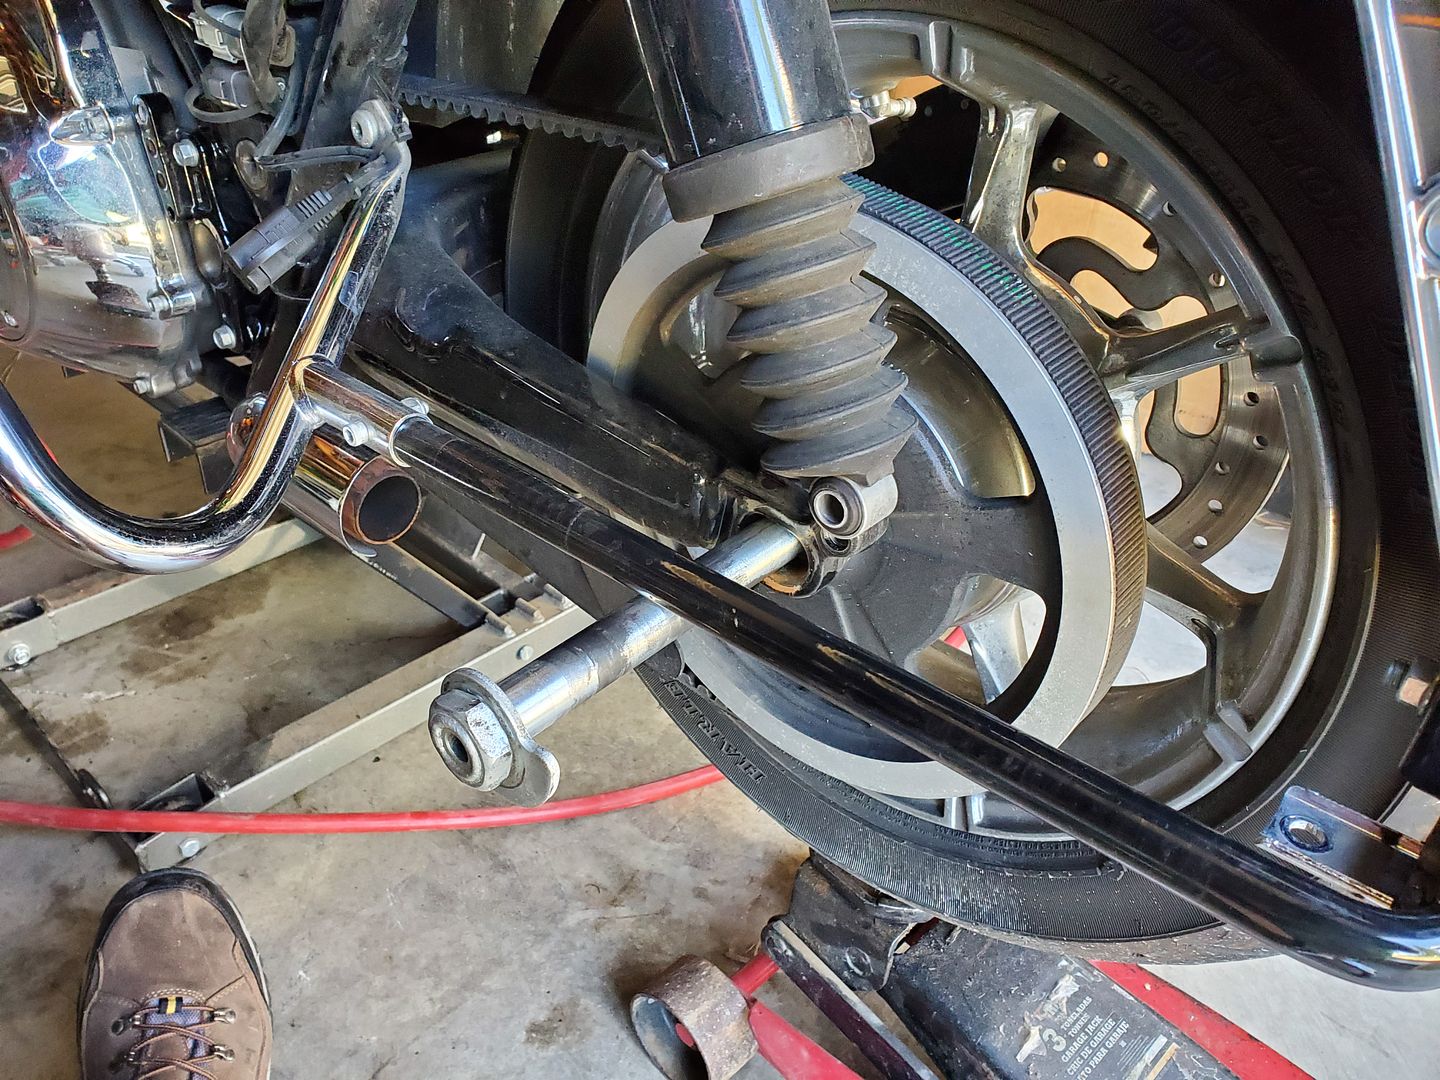
The stock rear axle almost all the way out. Once I pull it I'll find out for sure if my idea will work or not.
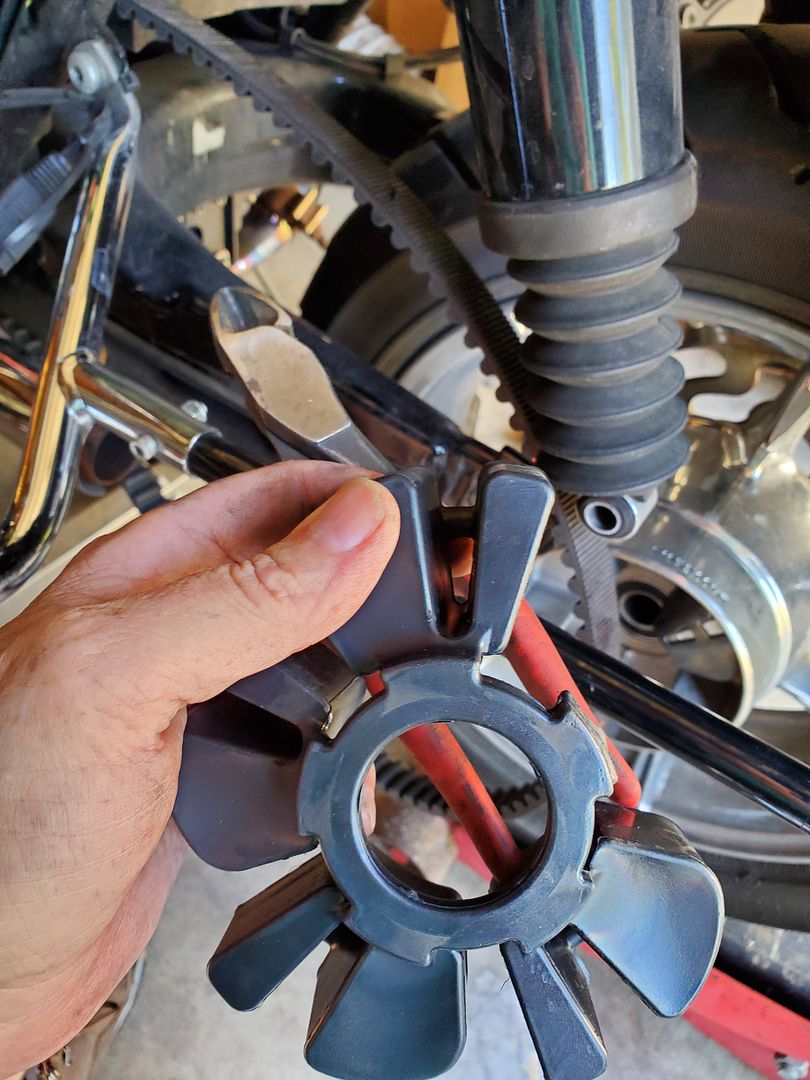
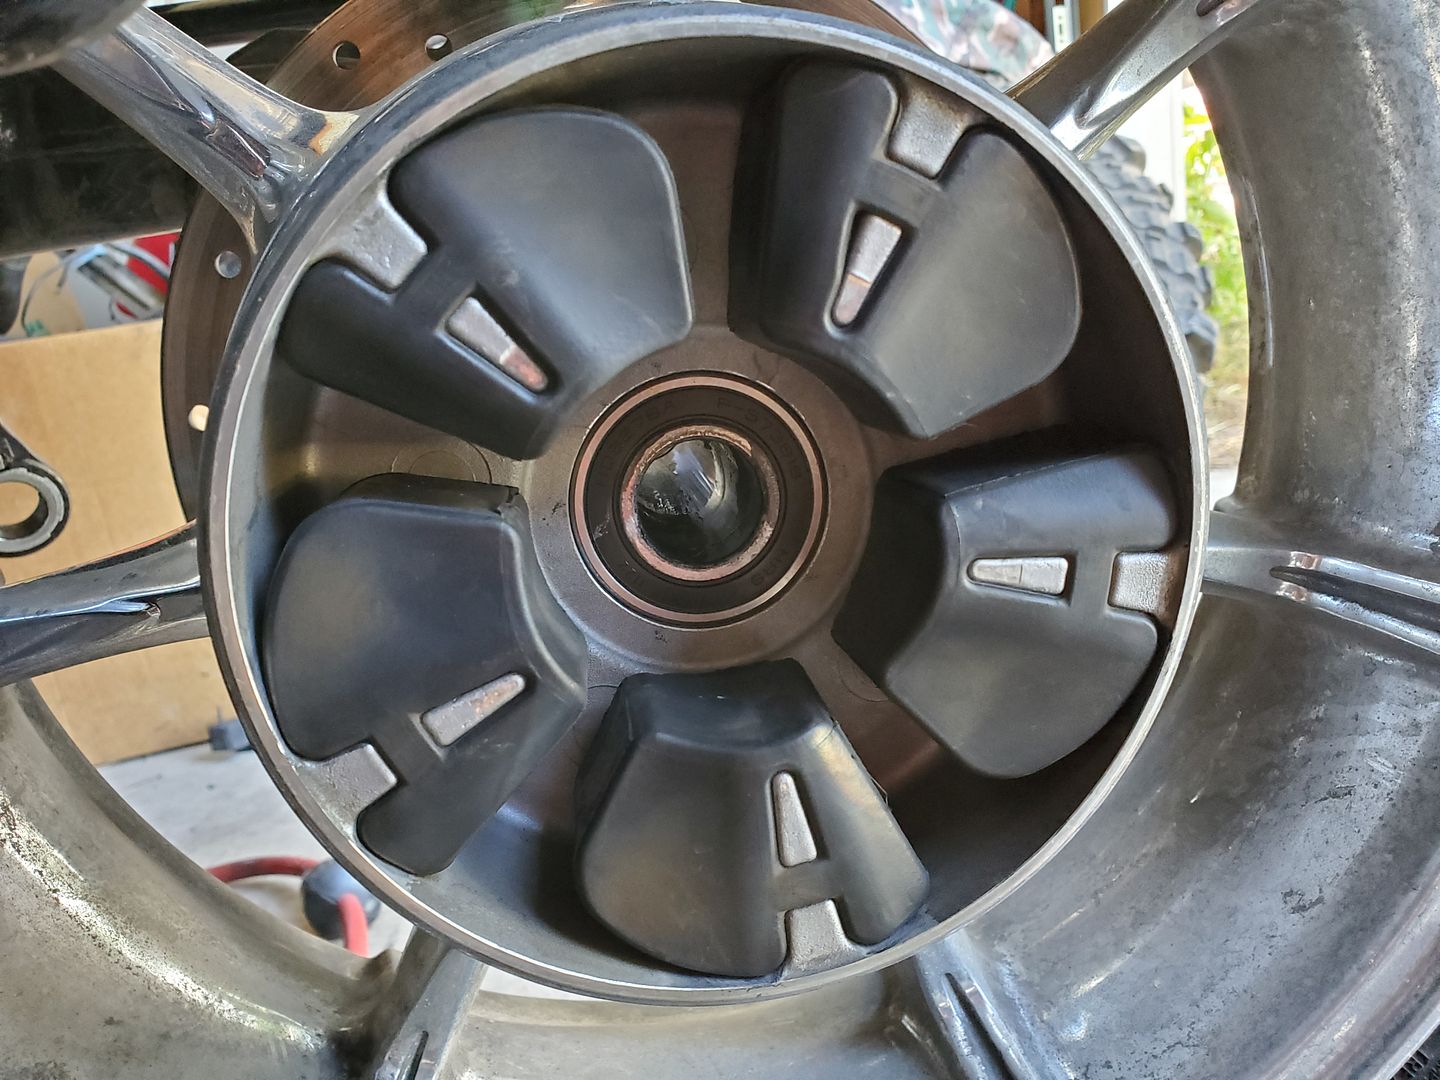
Yes it worked and here is the cush drive which you can see with the stock rear pulley removed.
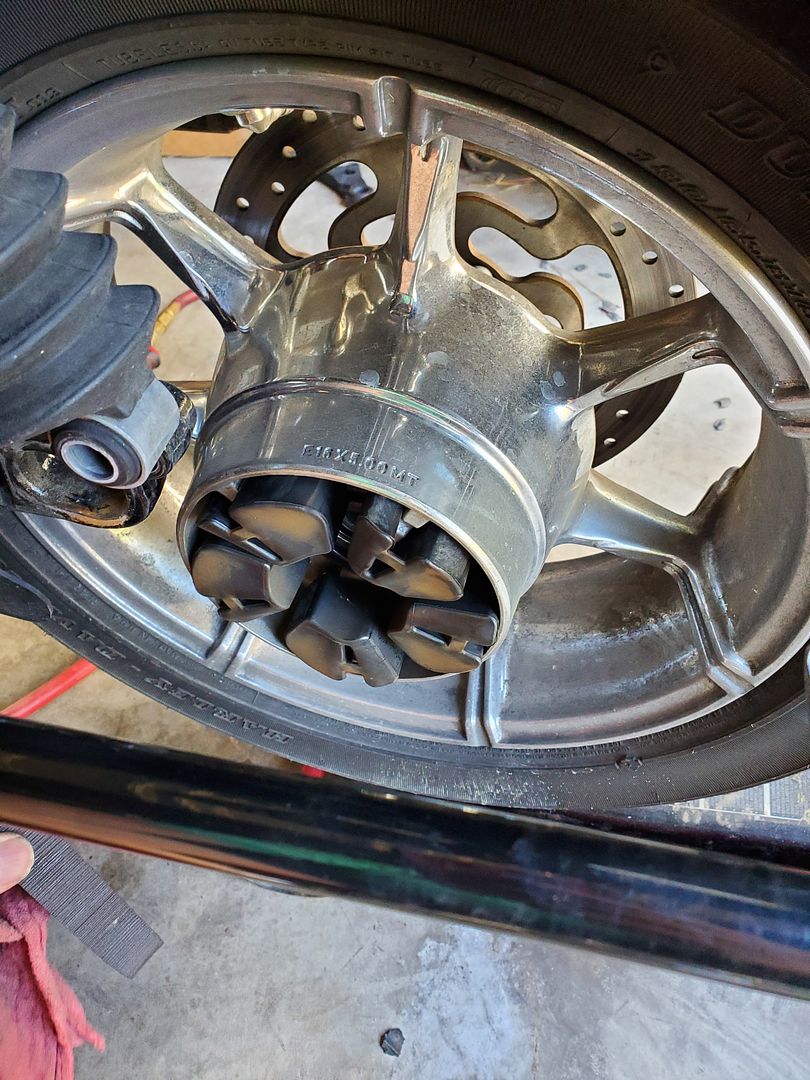
To install the M.R.P. you have to remove the cush drive and cut the ring that holds them together so that each piece is now separate.

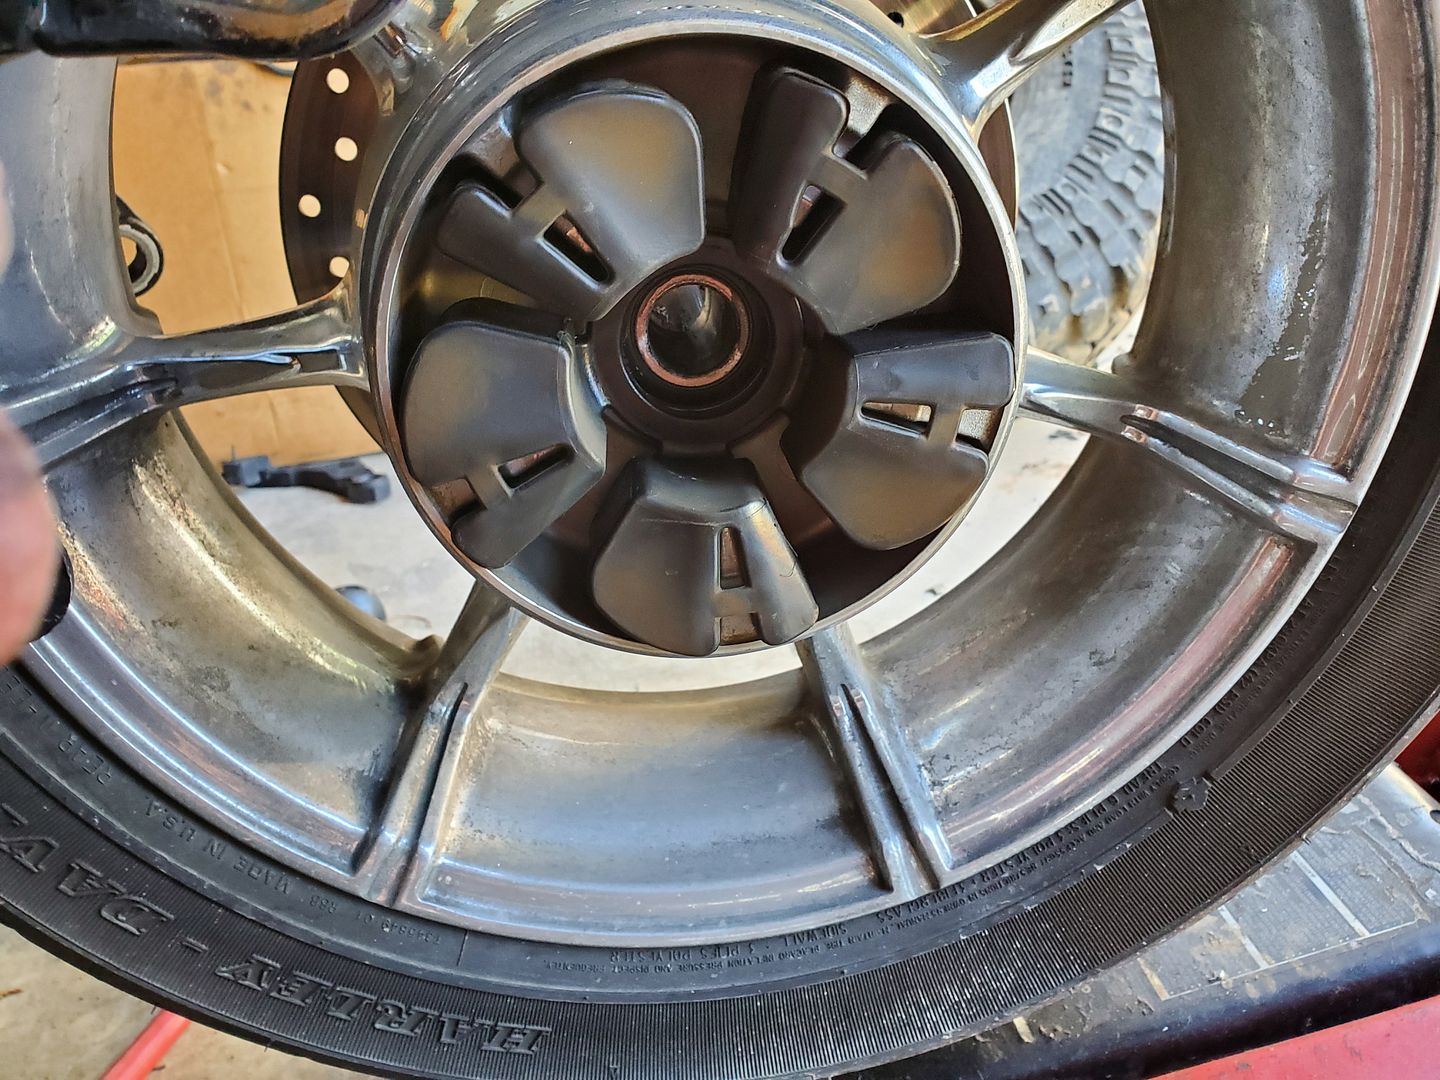
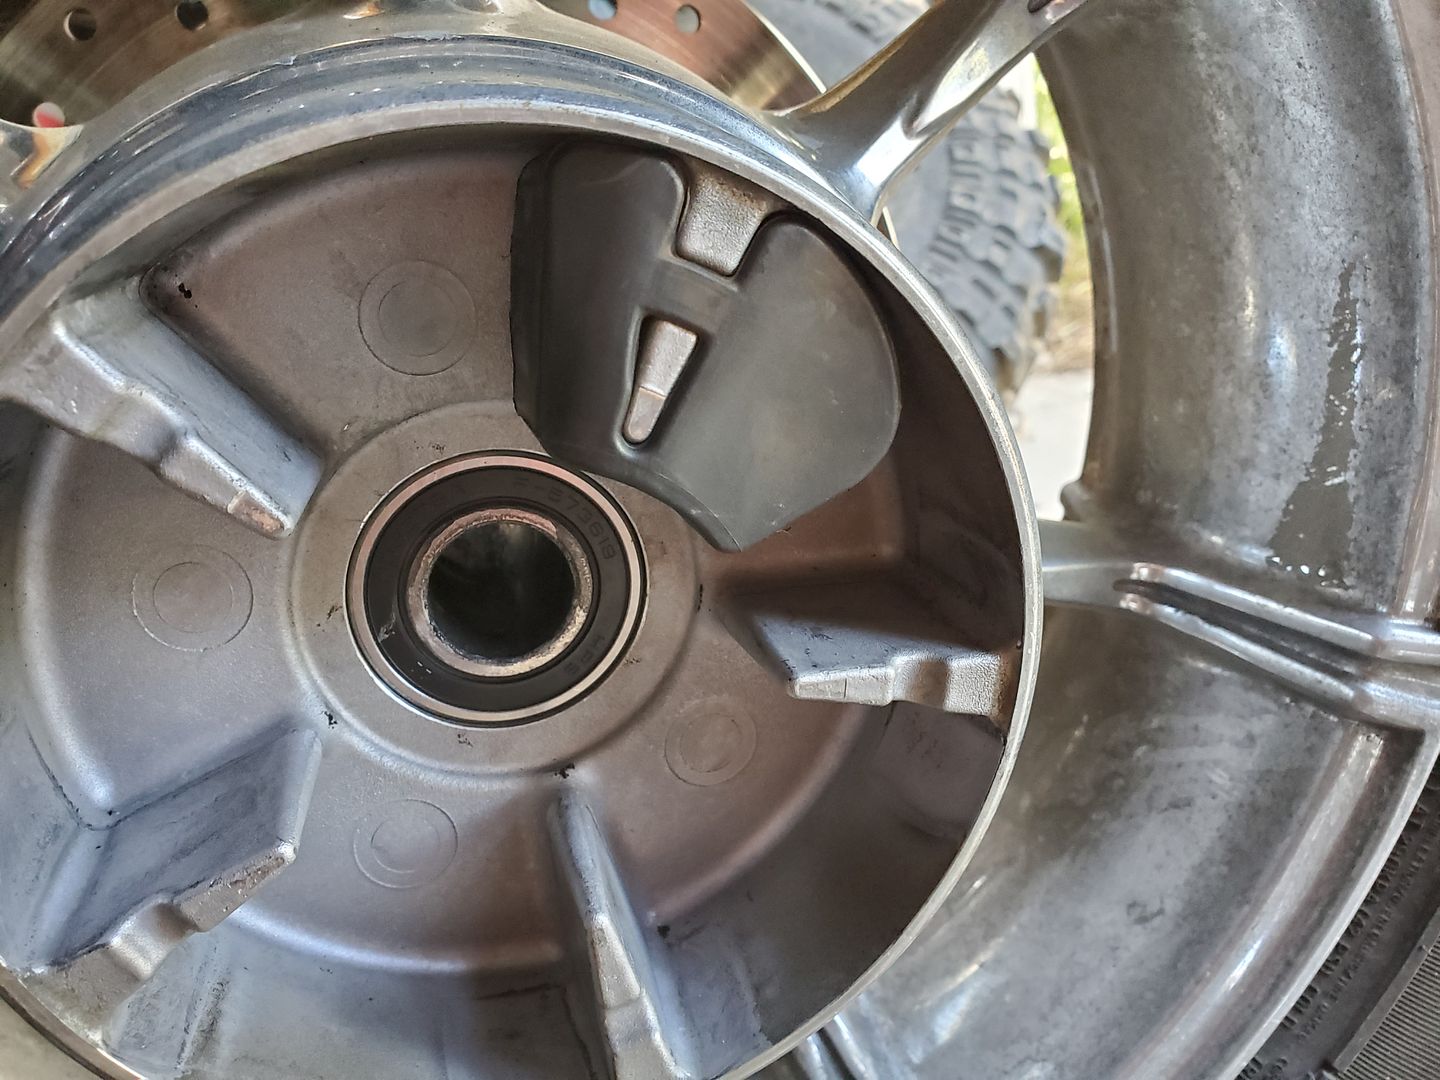
What it looks like without the cush drive installed.
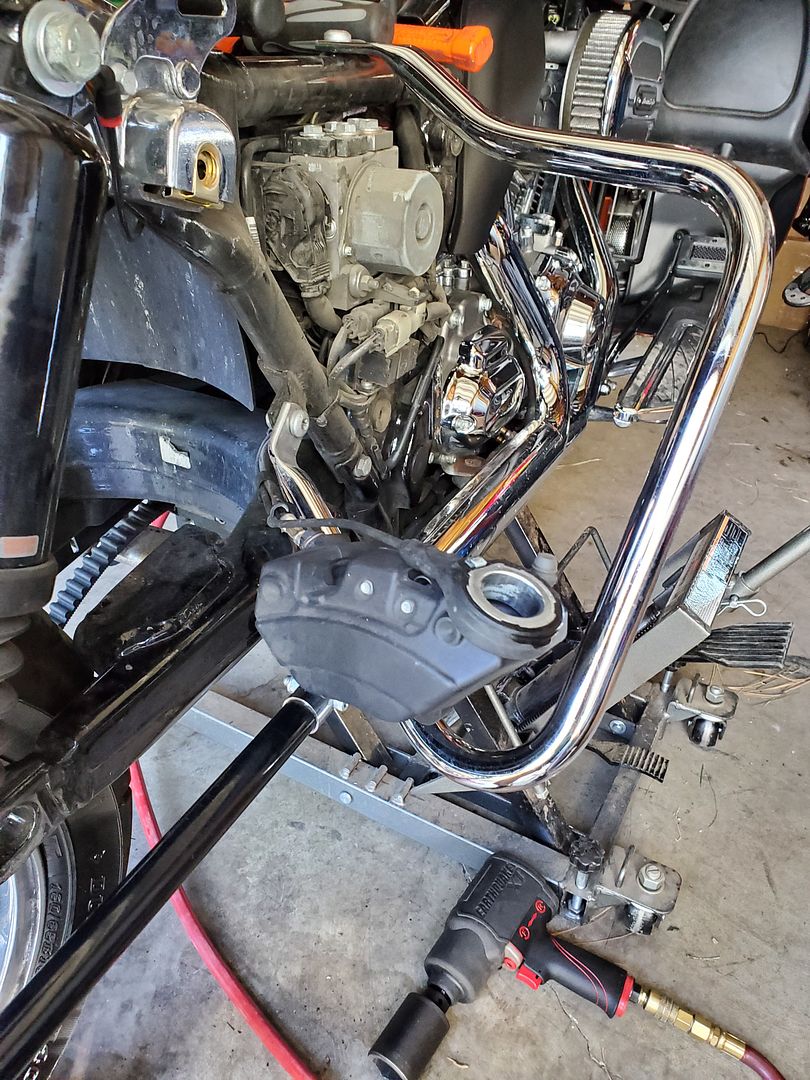
Rear brake caliper, ABS sensor are removed and set off to the side.
Before I installed the new axle shaft I put a thin coating of Anti-Seize on it.

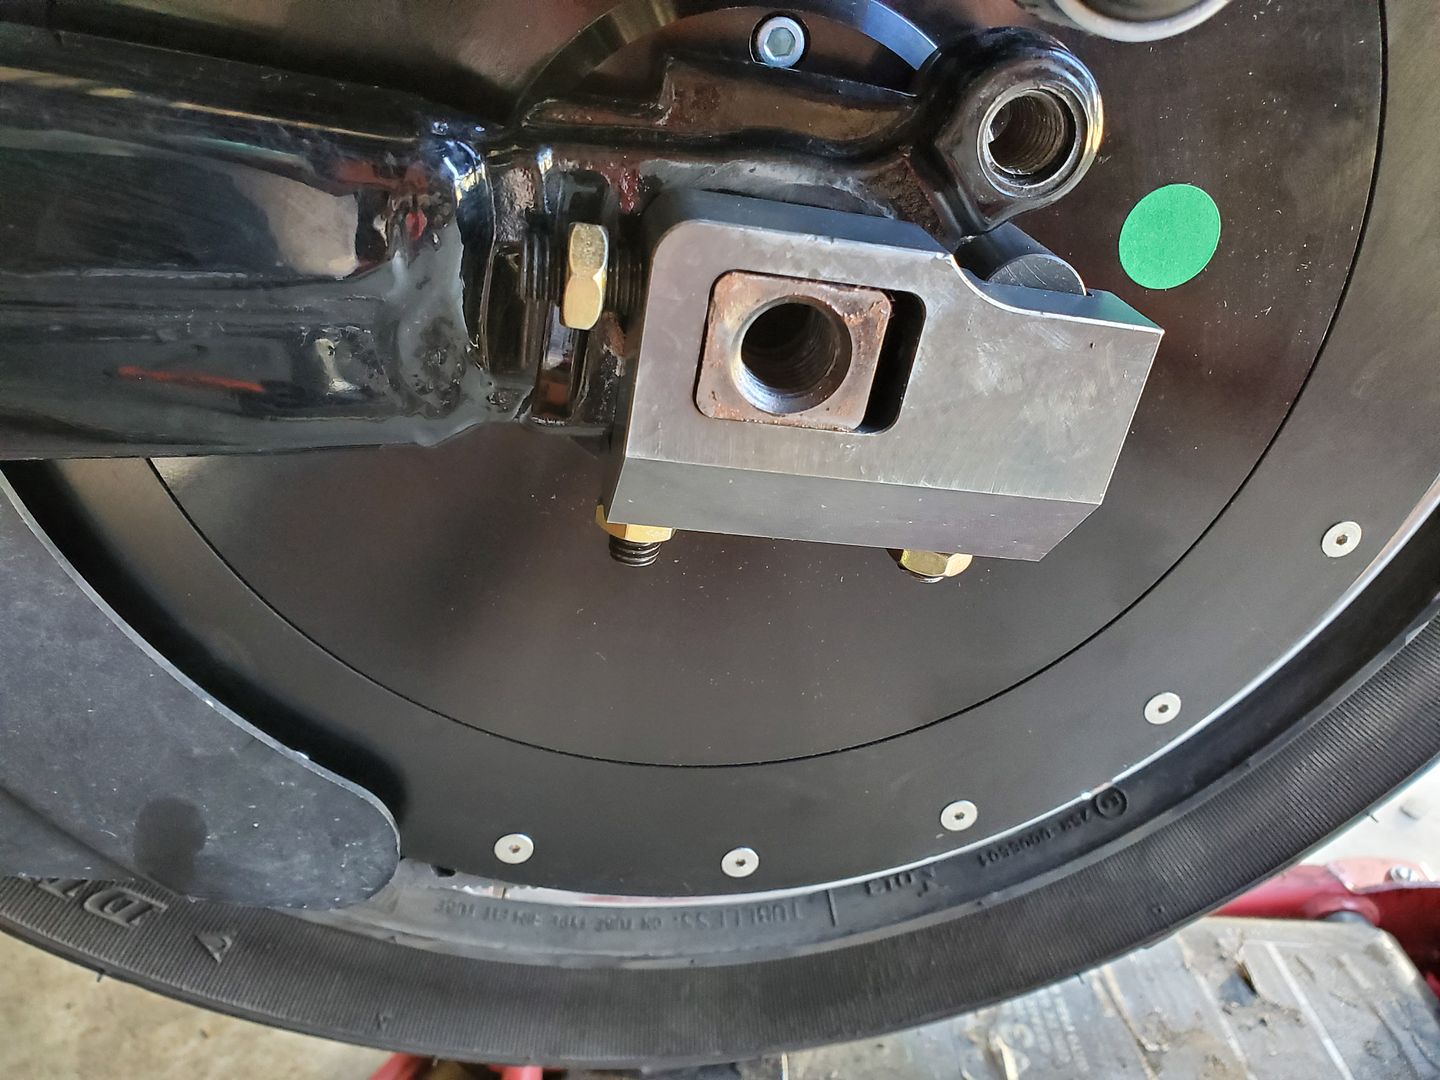
Shaft back in and the torque plate installed.
Here is a video of me testing the reverse function as shown on ST's web site. It works as it should.
Yes it is suppose to make that noise. They explain the what's and why's of it doing this so instead of my trying to explain it please watch their video here.
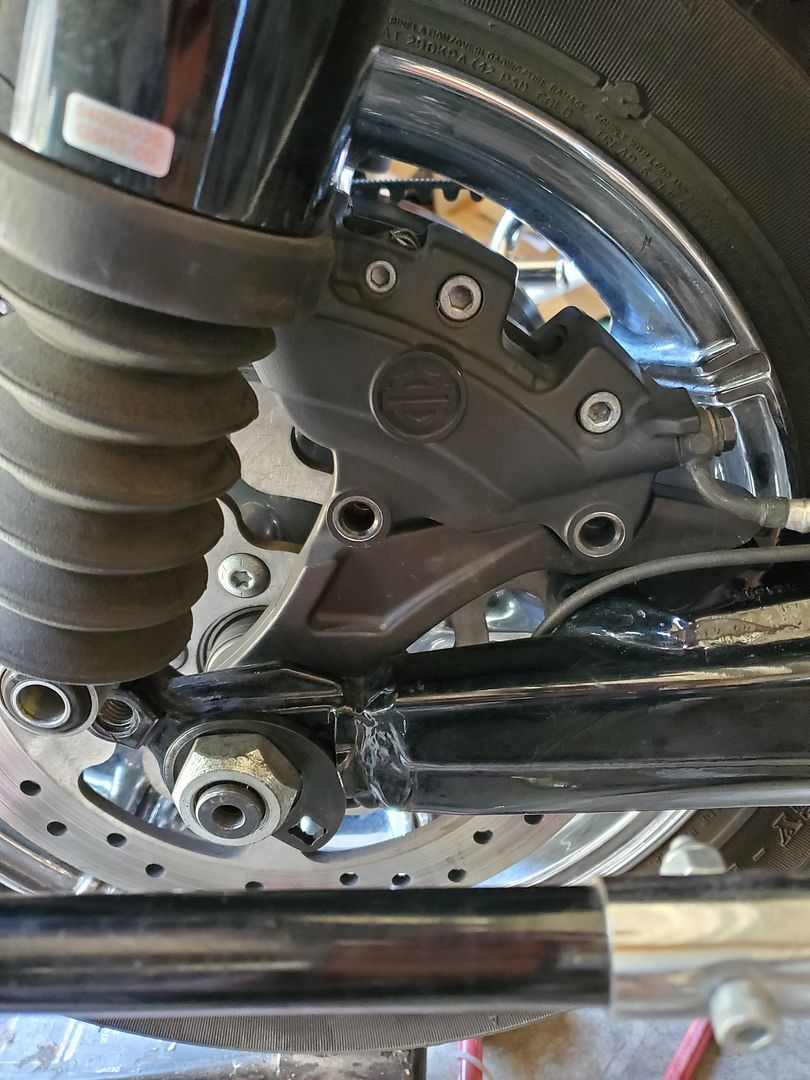
Rear brake caliper bracket and rear caliper reinstalled back on the bike. All of this went as well as can be expected. Then the fun began with setting the belt tension and rear tire alignment.
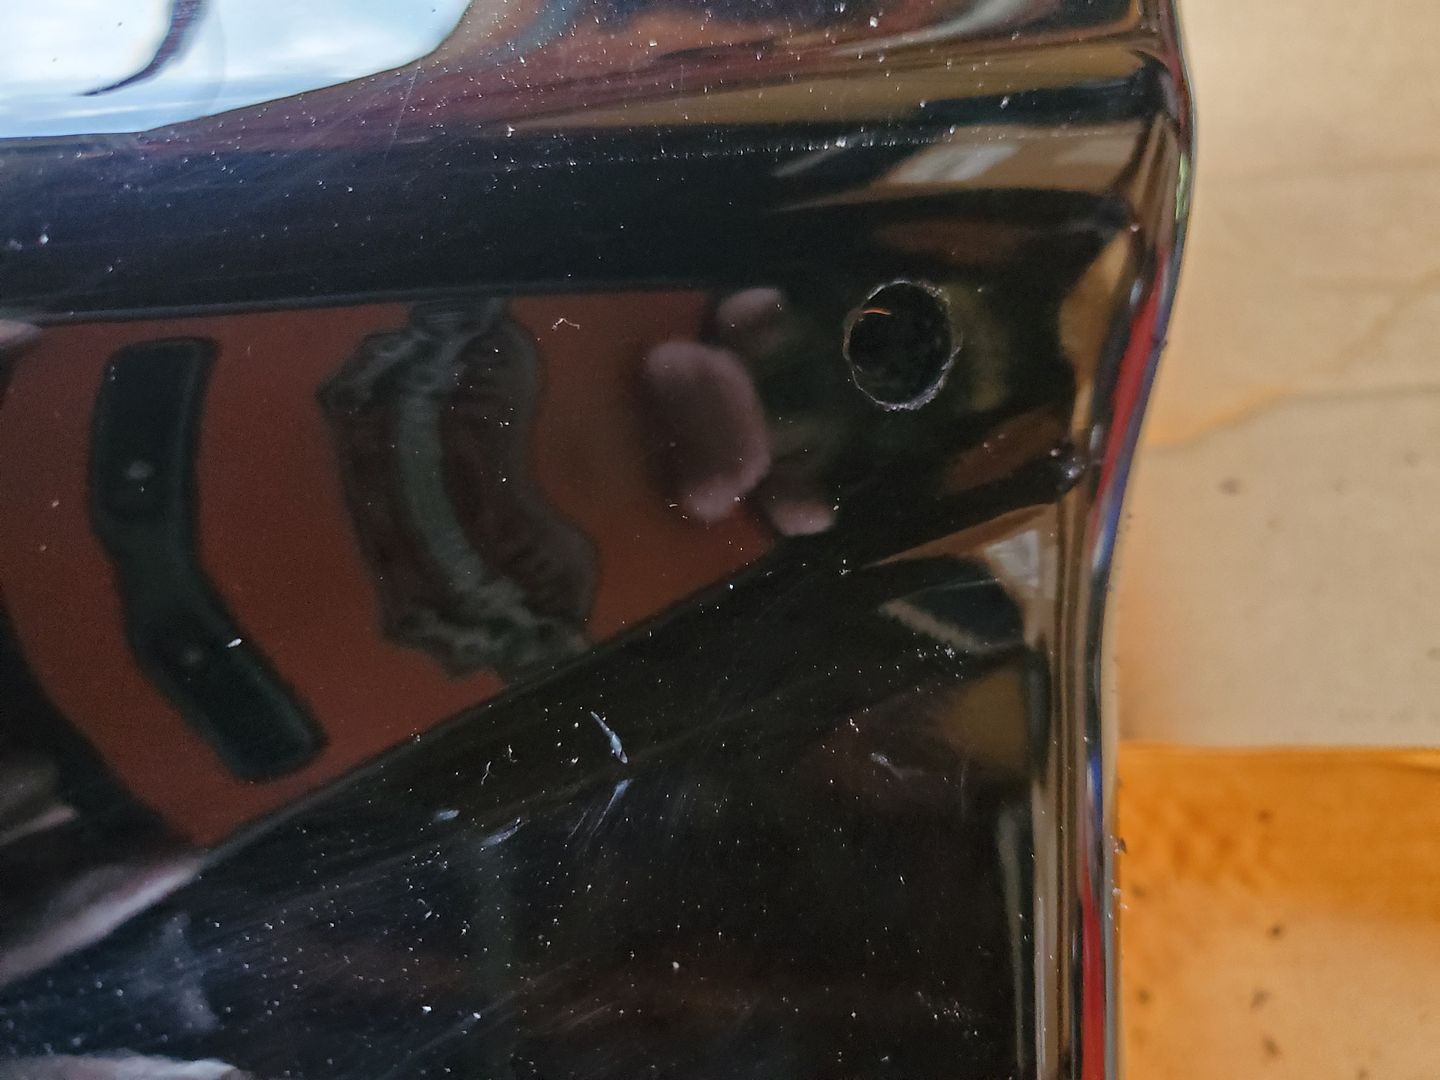
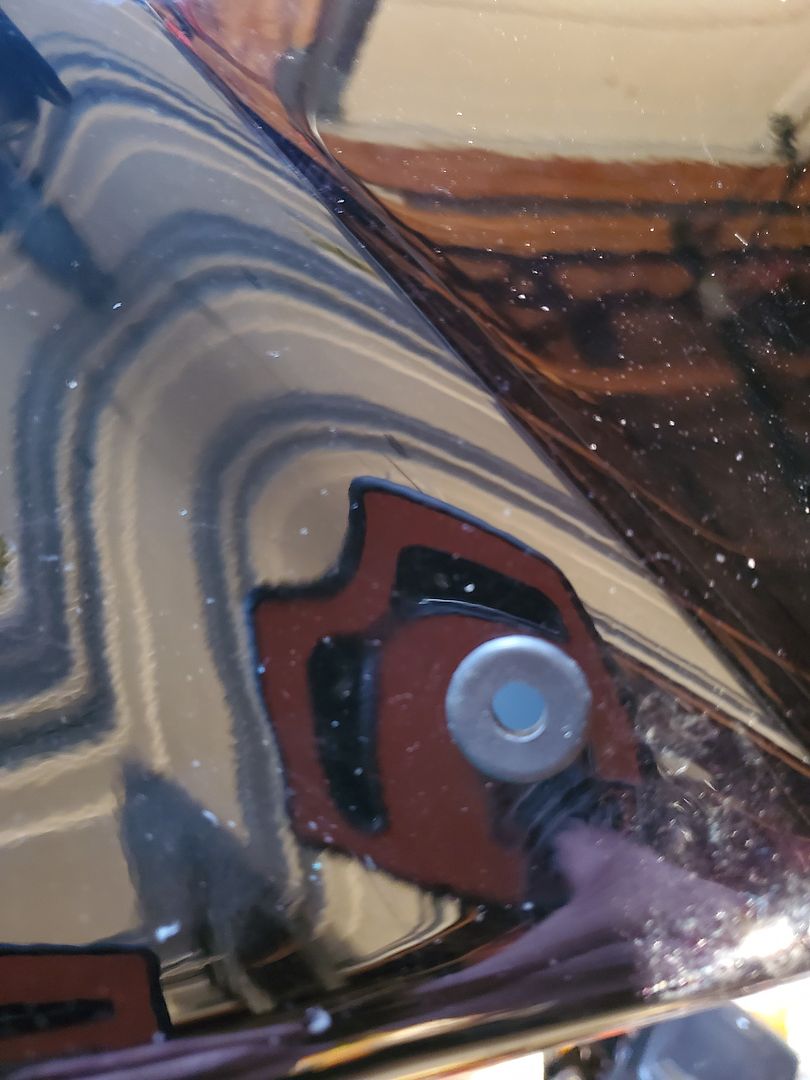
Now the FUN and the HARDEST part of the whole install, Drilling a hole into my saddlebag. I know it isn't a BIG deal but these saddlebags are in good shape and I just cringed having to drill this hole.
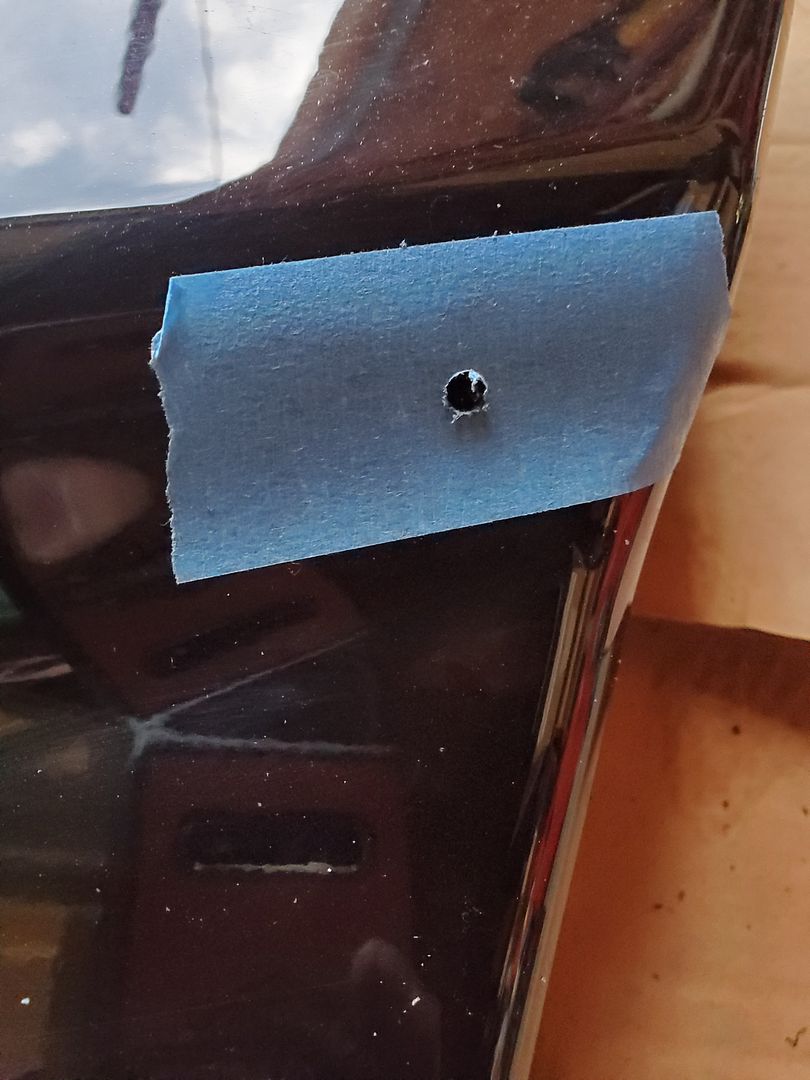
Final hole size is 7/16th and then you install a rubber grommet. Because I have the power locks I already have a hole for the wiring for the locks so instead of drilling two holes like the instructions say I ran the compressor wiring up thru that grommet.
I ran out of time to finish off today so I will be back at it tomorrow and finish the compressor install and final wiring of the compressor. Then it will be a quick final check of everything that I had removed and then I can check out how this reverse works and what I think of having it on my bike.


 Author
Topic: Reverse Options (Read 12281 times)
Author
Topic: Reverse Options (Read 12281 times)